

Photo by Annie Williams on Unsplash
Step-by-Step Guide: Adding Search Capabilities to Your Astro Static Website
Improve your Astro static website by adding a search function for better content discoverability and user experience.


I recently converted my blog from next.js to Astro. I have a search function in my blog, mostly to help me find old things that I've written, and it took combining a few things to be able to implement it in Astro.
Create the Results Page
To get started, create a search results page that will contain our custom element. I created mine as /pages/search.astro. I'm using a layout that I already created to list posts.
---
import PostList from "../layouts/PostList.astro";
---

<PostList>
</PostList>
Building a Custom Element
You could load in Vue or preact, but then you'd have to download all of the javascript for that library and your page load would take a hit. A slimmer way to build interactive components is to use the Web Component's custom elements feature.
To create a custom element, first, add the tag somewhere in your template.
<PostList>
  <query-controller></query-controller>
</PostList>
Now, add a script tag that defines a class extending HTMLElement and tell the browser to use that class for your tag.
//...
</PostList>

<script>
class QueryController extends HTMLElement {
    constructor() {
        super();
    }
}

customElements.define("query-controller", QueryController);
</script>
Getting the User's Query
We're going to pass the user's query using the q query parameter. We'll have to get it at runtime, so add the following two lines to the constructor of your custom element.
constructor() {
  super();
  const params = new URLSearchParams(window.location.search);
  const query = params.get("q");
}
Choosing a Search Engine
Before porting my site from next.js to Astro, I used lunr for my search engine. Honestly, with the size of my site, it worked just fine, but it didn't have the best TypeScript support. Also, it was last published 3 years ago, so it's a little stale.
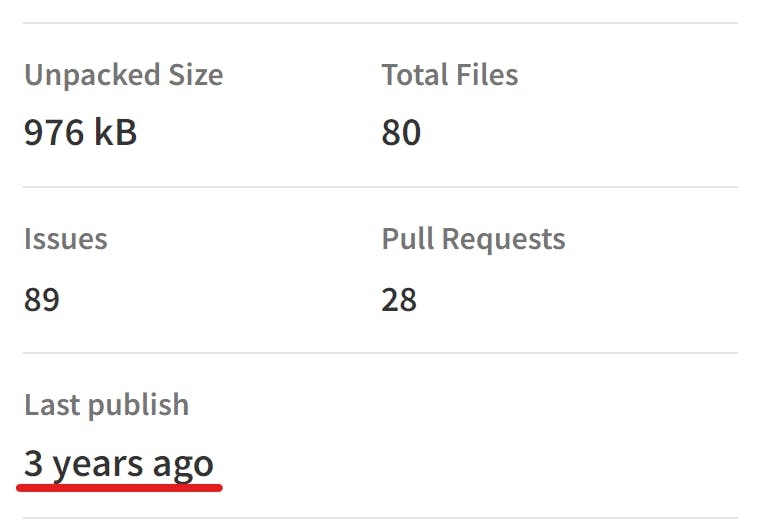
I came across Lyra and decided to give it a try. It's written in TypeScript and has advanced search options so I could improve my site's search in the future if I wanted to. Also, it's more actively developed with it being published just 3 days before I started writing this.
Initializing Lyra
Getting Lyra set up is a two-step process, you have to initialize a database with a schema, then you have to load documents into that database. I do this inside an async method in the custom element class.
Schema Type
Before initializing, I'll add an interface that defines the database schema above the element class.
interface DBSchema extends PropertiesSchema {
    title: "string";
    description: "string";
    path: "string";
    content: "string";
}
Yes, the interface does look strange. The types available when defining a PropertiesSchema interface is restricted to three strings. You can define properties as "string", "number", or "boolean".
Database Initialization
Now that your schema interface is designed, you can initialize the database. You'll need to import a couple of functions from the Lyra package at the top of your script tag.
<script>
  import {
    create,
    Lyra,
    search,
    PropertiesSchema,
    insertBatch,
  } from "@lyrasearch/lyra";
Now create an async method in your custom element class that calls the create method and passes in the same schema that you defined for the interface.
async db(): Promise<Lyra<DBSchema>> {
  const db = await create({
          schema: {
            title: "string",
            description: "string",
            path: "string",
            content: "string",
          },
        });

  return db;
}
Awesome, now you have an empty database, time to fill it with stuff to search.
Collecting Post Content
You have two options to get post-data to the client. You could build it in the component script and pass it to the custom element using a data property, or you could build it as a static json file and load it when needed.
We're going to do the second way because it reduces the amount of data needed to download for the initial page view, and we get to create an Astro static file endpoint.
Static File Endpoints
To create a static file endpoint, make a new file under the pages directory with the path and filename that you want and add a .ts (or .js if you don't like type checking 🙄) to the end.
All you need in this file is an async get function that returns an object with a body property that contains the content of the file that you want to generate. So, create a file called /pages/search-index.json.ts.
In our case, we're going to get the blog collection from Astro and map it to the Lyra database schema that we already defined. The body will have to be a string, so we just send the final index to JSON.stringify and that's it.
import { getCollection } from "astro:content";
import type { APIRoute } from "astro";

export const get: APIRoute = async function get() {

  const posts = await getCollection("blog");

  const body = JSON.stringify({
    posts: posts.map((post) => ({
      title: post.data.title,
      description: post.data.description,
      content: post.body,
      path: `/post/${post.slug}`,
    })),
  });

  return {
    body,
  };
}
Populating the Search Database
Now that you have a /search-index.json file being generated, you need to download it and fill the Lyra database with its content using the insertBatch function. Do this in the db method that we created earlier, right after the database has been created.
async db(): Promise<Lyra<DBSchema>> {
  // Existing db initialization code

  const index = await fetch("/search-index.json")
    .then(result => result.json());

  await insertBatch(db, index.posts);

  return db;
}
Getting Some Results
The database is now ready to go. Create a new async search function in the custom element that accepts a single query property. In the function you'll need to get the database from the function we just created, then pass that and the query into Lyra's search function.
async search(query: string) {
  const db = await this.db();

  const results = await search(db, {
    term: query,
    properties: ["title", "description", "content"],
  });

  console.info(JSON.stringify({results: results.hits}));
}
Now, in the constructor, call this method and pass in the q query parameter that we got earlier.
constructor() {
  // OLD code...

  this.search(query);
}
Now if you start a dev server and go to http://localhost:3000/search?q=aws, you'll see all of the results printed to your browser console.
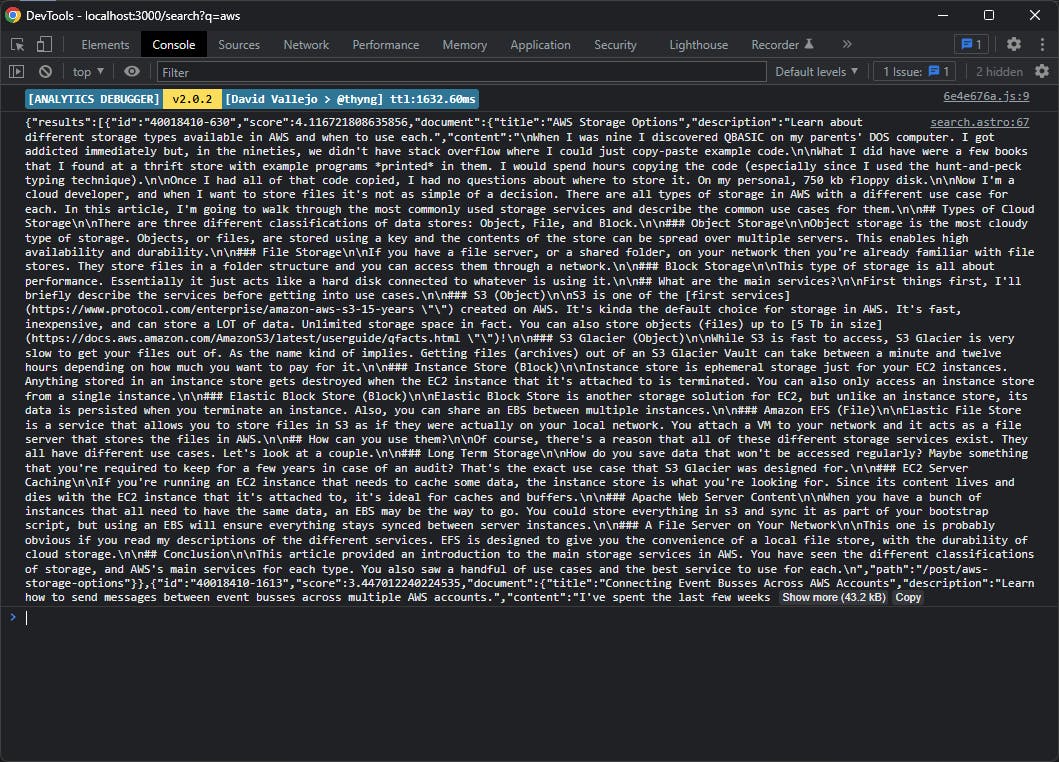
I'm no UX designer, but telling your users that search results are available in the developer console probably isn't a great user experience. Let's fix that.
Displaying Results
The custom element lets you set its child content using the innerHTML property. To do this we need to manually generate an HTML string, without the use of any Astro components. Fortunately, the results can be pretty simple.
In the search function, replace the console.info line.
async search(query: string) {
  // Getting results...

  this.innerHTML = results.hits
        .map(
          (
            post,
            idx
          ) => `<div class="flex flex-col items-stretch gap-2 pt-2 border-secondary text-base mb-4">
        <a href="${
          post.document.path
        }" style="text-decoration: none;"><h2 class="text-primary hover:text-accent" style="margin: 0;">${
            post.document.title
          }</h2></a>
        <p style="margin: 0;">${post.document.description}</p>
        </div>

        ${idx < results.hits.length - 1 ? `<div class="divider"></div>` : ""}
        `
        )
        .join("");
}
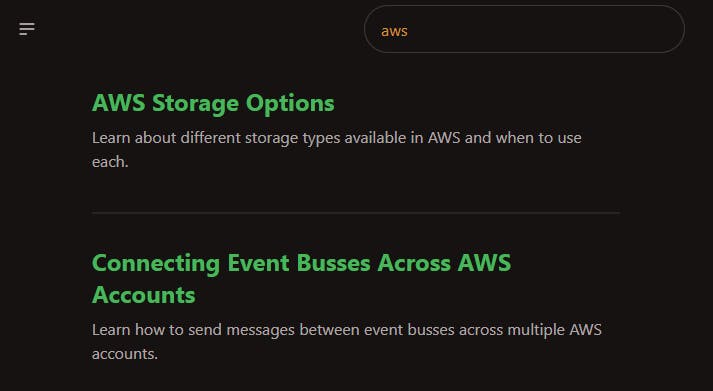
Now if you go back to that page, you should see the results displayed!
Summary
In this article, you've seen how to create a Web Component custom element, how to run JavaScript on the client from an Astro page, how to use the Lyra search engine in a browser, and how to generate static JSON files with Astro.
Now you can swap out the search engine, replace the Astro content library to use your cms and any other improvements that you want.